
Basic Butterfly Mask
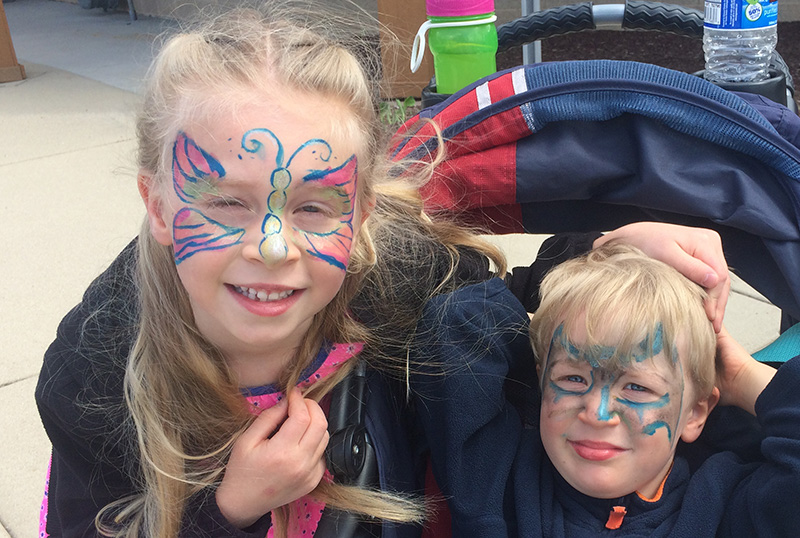
If you mastered the the basic mask from my first tutorial you can follow along with next step fairly easily. You will take what you have learned on the basic mask and take it up an notch. Instead of paint full enclosed area you have a space on the nose bridge and extend your painting further down the cheek. Also to note here this when you start to notice not all face paints are created equally. On the day I did this face painting there was a public free event in our town. I painted both of their faces in the morning and by the afternoon when we got there my sons face paint had almost completely rubbed off. Getting some of the inexpensive face paint is fine especially when you are first learning how to paint. As you learn more techniques and decide if you really want to do this more than just one time, then go ahead and invest in some paint. I particularly like the brand Tulip, the don’t fade or drip with sweat. Another reason i like them is that ot come off really easy with soap an water. I have never had issues of staining.
How to start
Here I find it important to figure out a color scheme. Try to limit to 2 or 3 colors for best results. Also, I tend to look what outfit my daughter is wearing that day, and pull inspiration from that. Also I choose my base color as the lightest color. Like water color painting, it is best to paint lightest to darkest.
Just as we envisioned the face with just a mask on it.. we want to now see how does that translate to the butterfly. We are starting at the brow line, but never connecting the 2 together.
Step by Step
- Paint Big ovals around the eyes for opening in your base mask color. With the same base color, paint on an angle from the inner brow line out to about the outer brow line stopping before you reach the hair line.
- Next paint down under the eye connecting in a rounded fashion bring it to the outer edge of the eye. You will continue this base color up to the top corner by the hair line. This should have give you the top wing. Fill this wing with the base color. You need to replicate the same shape on both eyes. Leaving the nose bridge untouched, that is where we will put the body of the butterfly. The key to this is making both sides as symmetrical as possible.
- After that you want to paint a curve across the nose arch not on the point or nostrils. Continue your line on either side to come across the the upper cheeks. Be sure to paint this line in an arch down then curving back up as come back towards the eye.
- In this step we need to make the lower portion of the bottom wing of the butterfly. I like to start by the nose follow the line already created by the top portion of the wing, round it out at the bottom. Angle it back up the the nose line, and fill in the wing with your base color.
- Now with that base color paint in the body on the nose. I like to make this in a long oval or group of circles together. Just depends on the look your going for. Dont do the antennas yet we will save that last.
- Its time to use our secondary color that should be complimentary to add shadowing and depth. I like to do the outer edge of the wing, helping to break the eye from the top portion of wing structure to top. Use it also on the nose bridge to create depth to the body portion of the butterfly.
- Last step is creating an outline with the darkest color. This creates visual definition but also will hide any imperfections of your painting. Now use this dark color to add the antennas, starting at the butterfly head painting out in a curved fashion. I can not stress enough the secret to success here is trying to make both side equal in color and symmetry.
Like water color patining, it’s best to paint lightest to darkest.
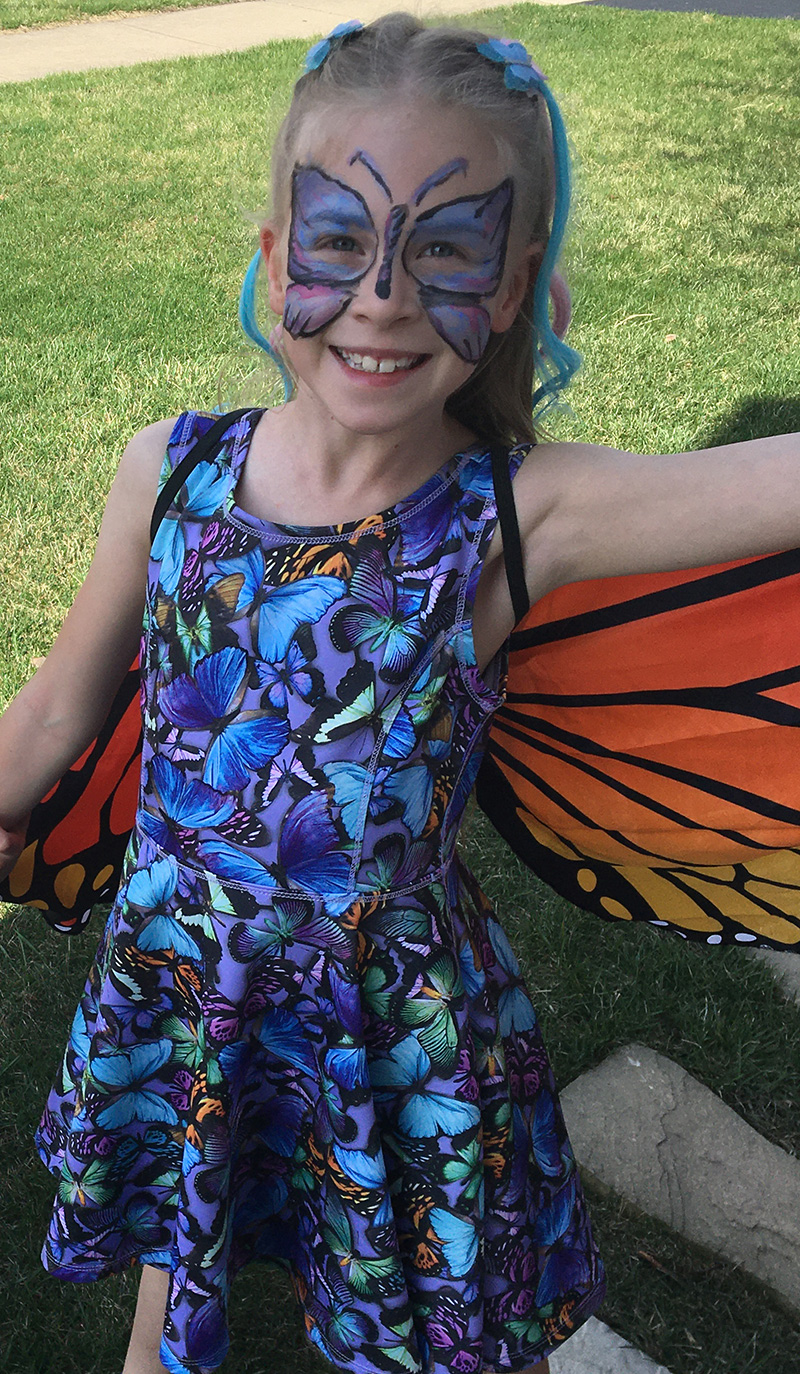
Now that you have your base done you can leave as is or start to be more ambitious. Take note many times the butterfly wing has striations and lines. Others have spot or dot patterns like the seen on the monarch, by adding these small details will help create illusions of real life butterfly.