Basic Mask
Face painting can be quite intimidating at first. Its hard even for a trained artist, and it takes time. So be patient with your self. Remember you are painting a two dimensional idea and painting it onto a three dimensional surface. So of course this is going to be hard. Not to mention not all face paints are created equally. So before you buy into really expensive paints and a bunch of different pallets, start with a basic set. Play around with it.. Be sure you have someone who is willing to be painted on. Lucky for me I always have two willing and ready participants. Maybe a little to ready…
How to start
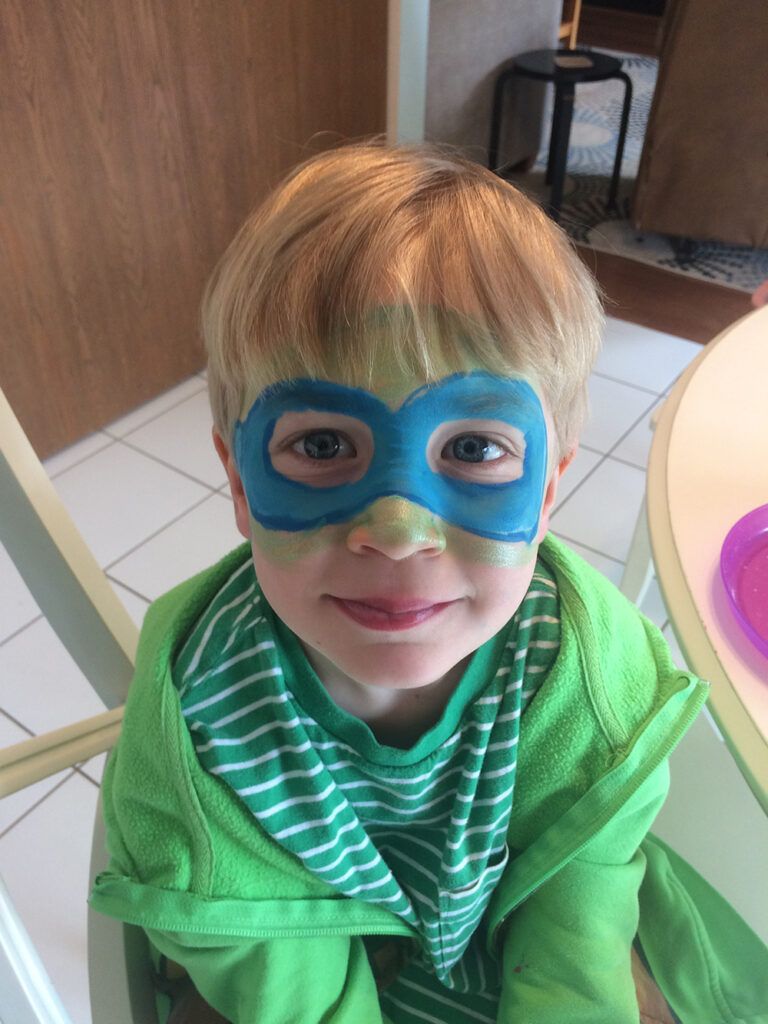
Starting is always the hardest. The “Client” my kids are always very demanding and have great expectations, and why shouldn’t they. In their eyes mom can pretty much accomplish anything, so why should this be any different. For this tutorial I am going to review the basics of doing super hero masks for boys or girls. once you learn the basics you can pretty much achieve any of the super heros, simply swap out colors and there logo. when you feel little more confident you can start adding details that take it up a notch.

When you see the face try to envision the face with a mask sitting on top. You know there will need to be eye wholes, depending how still you child will sit will sit and allow you to get near the eyes will determine this. I have noticed as my son has grown over the years he has allowed me to get closer to his eyes with out flinching or wiggling. He is more patient in letting me put in details.
Step by Step
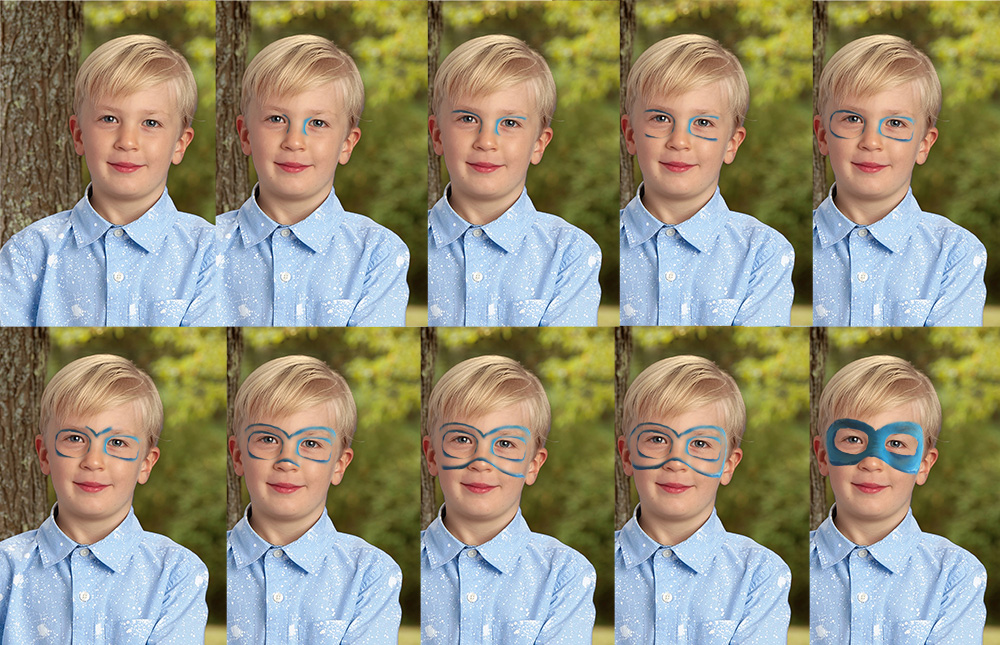
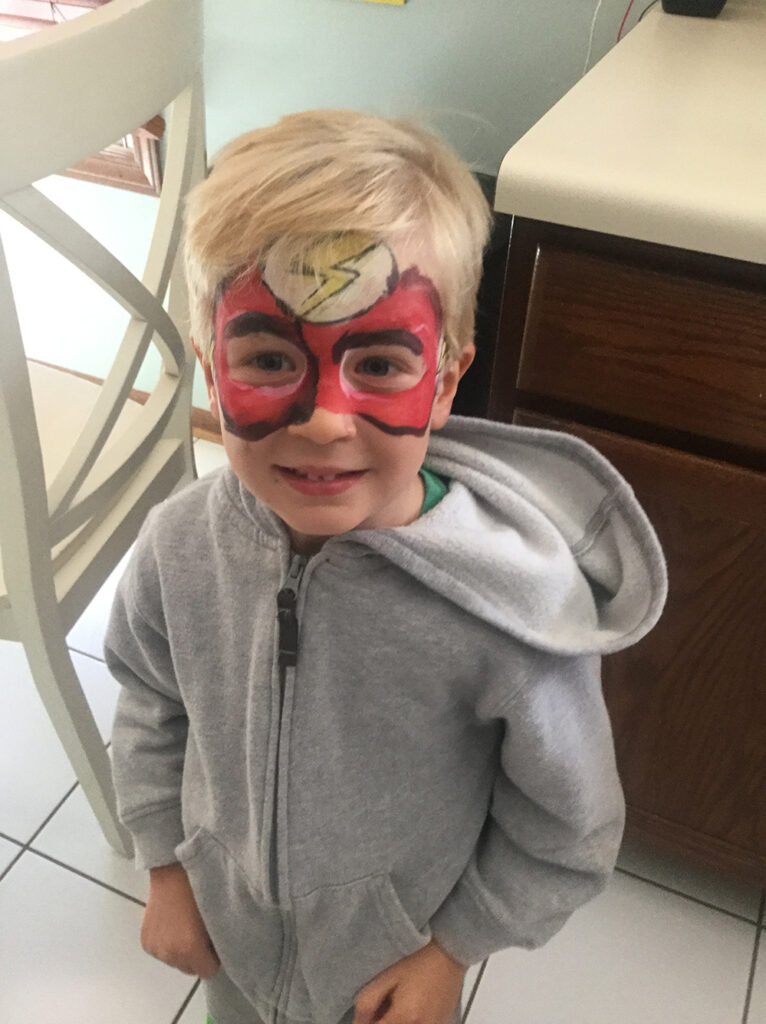
- Paint Big ovals around the eyes for opening in your base mask color. From the inner bridge of the nose to the outer edge of the eyes. leaving you with two ovals one over each eye. This creates the inner outline.
- Next your going to make the outer outline, paint across the forehead, depending on if your going to need an arch between the eyebrows you will either make a straight line or a “V” shape down.
- After that you want to paint a curve across the nose arch not on the point or nostrils. Continue your line on either side to come across the the upper cheeks. Be sure to paint this line in an arch down then curving back up as come back towards the eye.
- Lastly Connect the top outline by the brow to the bottom by the cheeks. Again make this more of a rounded curved line opposed to a straight line. All of these small details are important when combined to make the mask look realistic.
The big trick to this is making symmetry throughout the painting.
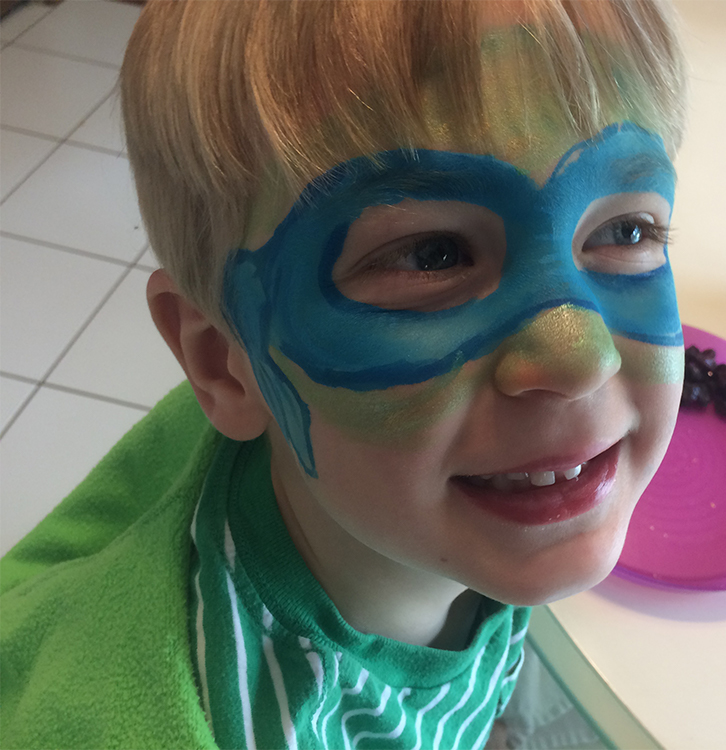
Now that you painted your mask its time for details. Going back in with a dark color or around the eyes to create illusion of depth and shadowing helps. Creating the logo or icon on the top above the brow line is where you can start adding details. you can create shadowing on the outer edges as well. but this is just the basic mask.